Mokume Gane Pendant

Mokume Gane Pendant
Julie Picarello Style

Wednesday, October 14, 2015

Ready, Set ....


Getting ready for my first craft show in about 2 years has turned my house into a disaster area!  Pulling all the display pieces out.  My always helpful daughter pricing. Organizing. Deciding at the last minute that we should change the color scheme for this show ... GO?

My Huge Sign
Bistro Set and Display Trellis


Boxes! Tables! Tent!

You have to have a narrow butt to sit down now!
Stacks leaning everywhere!


Well, I also have stuff to sell!  Trying to get all of that organized, priced and packed for a safe ride in the truck also takes up a mess of space!  (Yes, we say 'mess' instead of 'big' or 'a lot of' in the south!)
First layer of ornaments.
Layer number two.

These are very transparent.
Look beautiful when placed over one of the lights on your Christmas tree!
These have some transparency too.
They turned out looking like camo, but the original design came from
the year I saw a green, brown and gold tree at Cracker Barrell.

I had a cross-making craze for a little while.  I love them!

Jewelry
More Jewelry
More Jewelry
Ring Bowls
All of them were made on the top of light bulbs.

Hearts
Bracelets


Pens
Some have holders.  There are more ... I just have to find them!


So now I must go back to the task at hand
Concord Jubilee
Concord GA
Oct 17 & 18, 2015


Happy Claying!

Extruder Solution

Well, yay!  My Walnut Hollow extruder had a mishap.  Yep, that was a GOOD thing!

I have awful arthritis in my hands and sometimes would use a vise to hold the extruder while cranking.  But I didn't always want to go to all that trouble just for a small amount of extruding.  The Walnut Hollow has a black rubber-ish sleeve over the body.  Well, that sleeve let go and came off the extruder.

You would think that'd be a big old

but NO!!

That led me to find a solution to grasping it... and what a great benefit it turned out to be for my arthritic hands!


To the rescue: GELGRIP

I think I picked this up at Home Depot.  You wrap it around and around the extruder and get a great padded grip!  So now it's not only padded but a bigger grip, too.  My only teenytiny criticism is that you have to attach both ends with electrical tape.  But a minor thing, for sure!


So then, the extruder wouldn't fit back into the case with the plastic organizer still in it.  I took that as an opportunity to put a magnetic sheet in the bottom of the case to hold some of my disks.  (In the spirit of recycling, I used an advertising magnetic sheet from a major league baseball team.  I save every magnetic ad I get!)

Maybe this will help some of my fellow clayers that also have trouble gripping their extruders!


HAPPY CLAYING!!

Tuesday, July 21, 2015

FALL FAIL

Well last night truly ended on a disastrous note, but it could have been much worse!

I spent all day moving jewelry making supplies. That lead to more reorganisation.

Work, work, work like a busy little bee.

I finally decided a real TV break was on order. You know, the kind where you actually sit on the couch and watch the TV.

I have two cats that really don't like each other at all. I inherited one when my daughter's family moved into an apartment. Territorial issues. So, small commotions don't bother me. But this was a HUGE commotion!

One of my IKEA Expedit shelves came crashing off the wall, on to the table and then the floor. In the very spot I'd been sitting not two hours earlier! I was very lucky that it didn't fall earlier!

I was sitting in that exact spot organizing my tool boxes!

Looks like my evenings this week will also be busy like a little bee!
Work, work, work!

Happy claying!

Sunday, July 19, 2015

No TV = No Claying

I guess I'm a Type A personality; I can't do just one thing at a time.  I HAVE to have my TV going to play with clay.  I don't think I actually watch the TV, but the sound keeps me company!

A near disaster struck about a week ago:  the actual cable to the TV in my craft room "broke".  I had to wait a week for DTV to get out here to repair it.  So... no claying for me.  :-{  If you've never viewed pix of my craft room, check it out here.  Way too much stuff to try to move it to the living room.

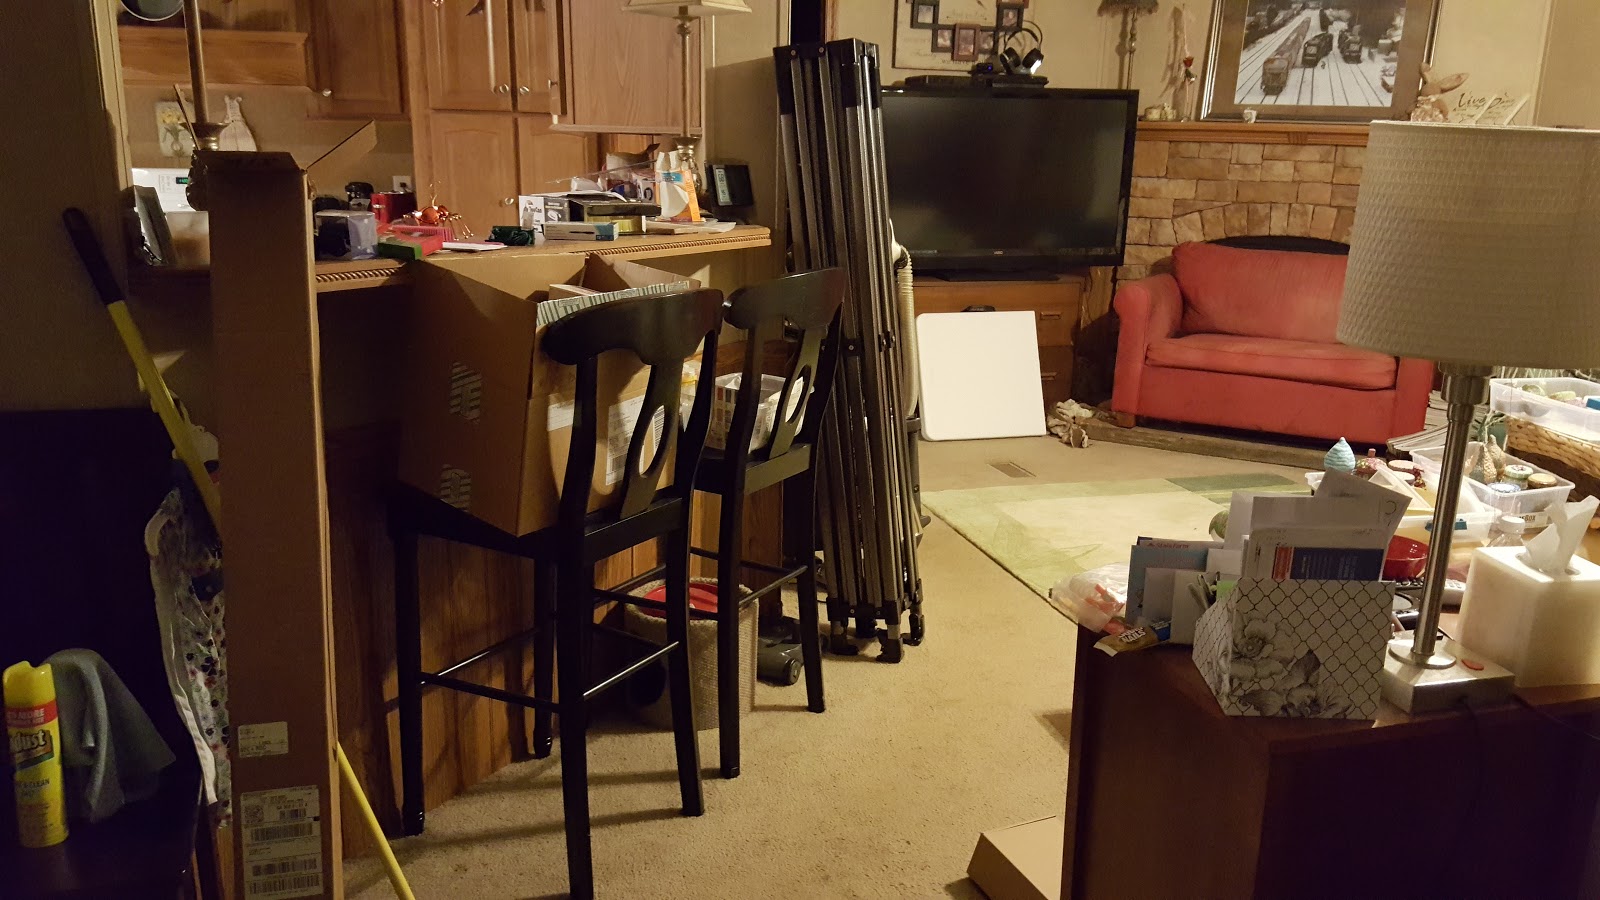
So, I changed gears.  I transported a bunch of stuff for jewelry making to the living room and put a few things together.  No, this is definitely NOT everything for jewelry making!


I work a "real job" (two and a half years to retirement!!! YAYAYAYAYAY!)
So all I've done is the set on the shorter table.

Faux turquoise and coral
beads that have been sitting around for a long while waiting for inspiration.


 The earrings were the last piece of the set.
My daughter has called dibs on the set!


The TV is now repaired.
I've not yet returned to claying
because
I'm too lazy to move all this stuff back into the craft room!

Maybe today.  Maybe not.

Happy claying!

Tuesday, June 16, 2015

Storing Unopened Clay

In 2012, I undertook a total reorganization of my Craft Room. You can see more pix of that in this post.

The barely visible black object in the center of the photo to the left, behind my chair, is my solution to storage for my unopened clays.

I purchased this cabinet at Hobby Lobby.  You may already know that Hobby Lobby discounts their furniture 30% every day. But did you know that you can save an additional 10%? When you get ready to check out, ask the cashier to charge the regular price of the furniture and let you use your 40% off coupon! BTW, I couldn't find a link to it on Hobby Lobby's site.

Make no mistake, I am NOT an organization guru.  In fact, much to the contrary!  But I wanted to have all of my unopened clays in one place so I knew what I was running low on or had available for use.


As you can see, I have a label maker in my craft room. The clays are organized by brand and further by type, so the Premo clays are in a separate drawer from the Premo Accents. The drawers aren't labeled that way because I often have to shift them around when I restock.

There is also a cabinet door at the bottom. You can see a little of it in the picture above right. I use it to store bulk clays. For instance, I sometimes use the original Sculpey when making pen bases or roofs on my fairy houses.


HAPPY CLAYING!

Tuesday, June 9, 2015

LC Ease Update

Lucy's Solution


A week or so ago I posted my "solution" to the nut on the LC Slicer's Ease attachment getting in the way and not allowing you to get the whole cane sliced.  Well, it appears that Lucy Tools is a step ahead of me!!  While looking at the site for the US distributor of her tools, I found that she has a white acrylic block to accommodate slicing!  Here it is:


Now how about that!?!?!

Here's the link to Kimi's site to order in the US:


Happy Claying!

Tuesday, June 2, 2015

Annoyance Solved

LC Slicer

     LC Ease

Make no mistake:  I LOVE MY LC SLICER!

However, I found that the nut that holds on the LC Ease in place limited my ability to get to all of the cane.  

BUT ... PROBLEM SOLVED!

I made rectangular blocks of scrap clay as a bumper to allow me to get to all of the cane!  I placed a small piece of parchment paper on the leading edge to keep the cane from sticking to the scrap.


Happy Slicing!

Thursday, November 6, 2014

Fairy Houses

So, I collect jars.  Okay, some people say I "collect" everything I find.  In particular are these cute shaped jars with fruit in them.  A dollar each at the dollar store --- and Don will eat the fruit.

So, I decided I need to make some little fairy houses.  They are so much fun because they're fairies and there are NO rules!!  Love it!

I used paper and aluminum foil to build up the roof.


This one obviously has a secret admirer!
He left flowers on the door step!

In my Etsy Shop is a picture showing
all sides of the house,  
along with many of my other fairy houses.